Strawberry Whipped Cream Tarts
Highlighted under: Baking Basics | Simple Cakes
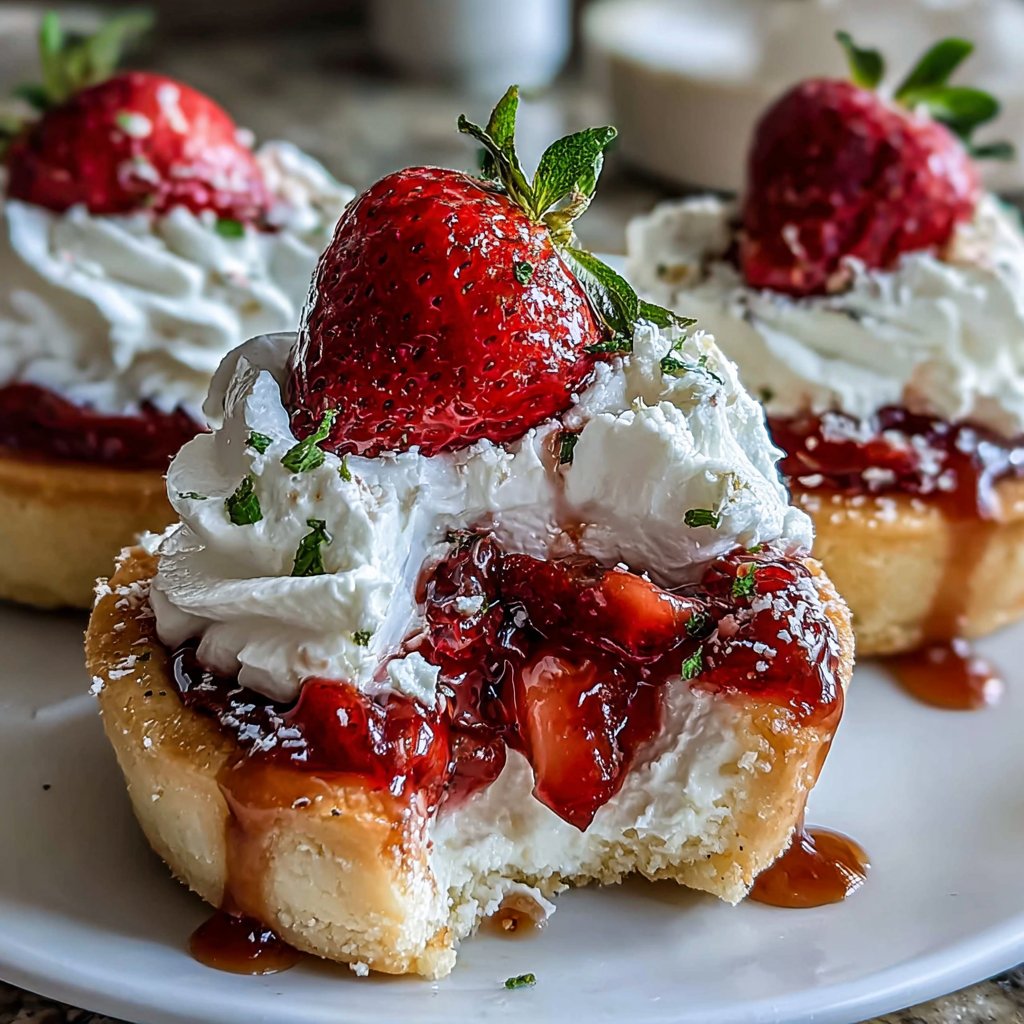
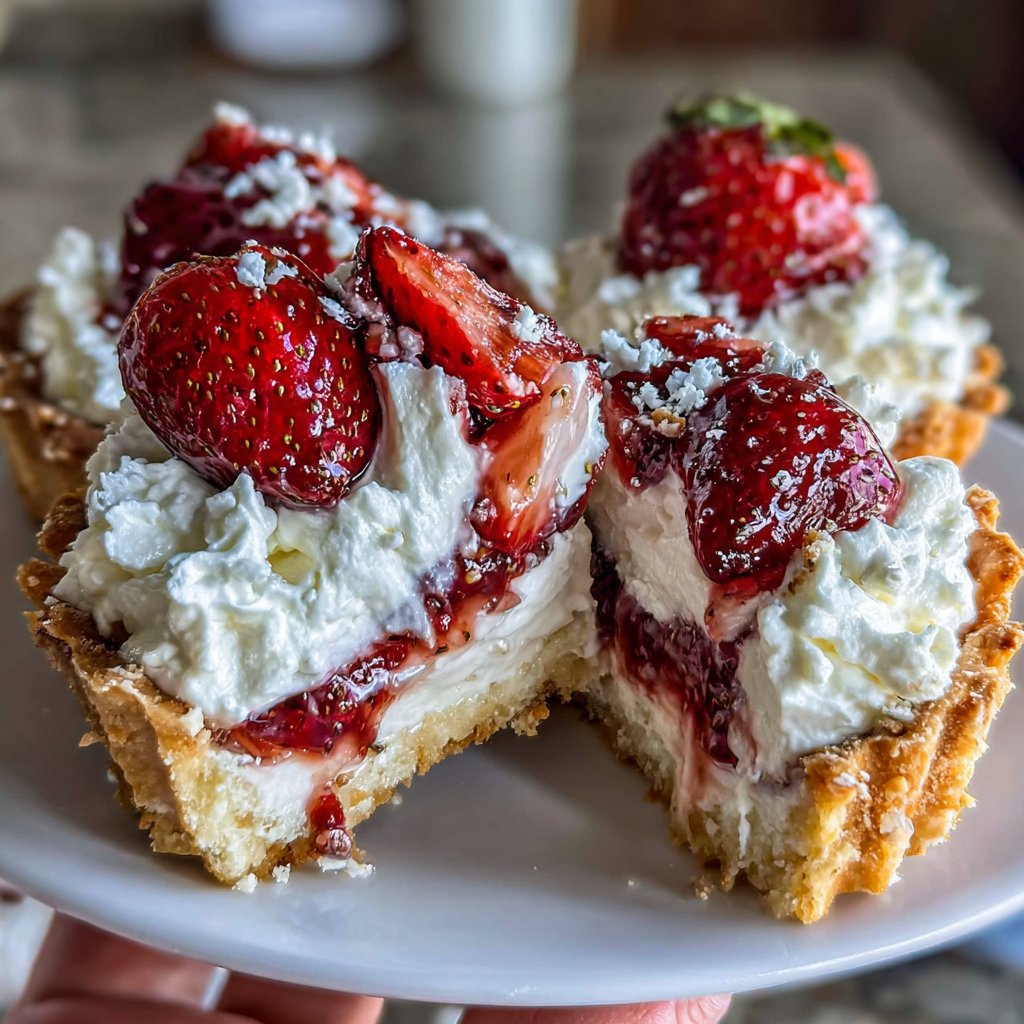
I love making Strawberry Whipped Cream Tarts during the summer when strawberries are at their peak. The sweet and juicy berries paired with the light, fluffy whipped cream create a delightful dessert that's hard to resist. The tart shell, buttery and crisp, provides the perfect contrast to the creamy filling. Whether I'm serving them for a special occasion or just a casual family gathering, these tarts are always a hit. Plus, they are surprisingly easy to make and look stunning on any dessert table.
When I first tried my hand at making Strawberry Whipped Cream Tarts, I was pleasantly surprised by how straightforward the process was. Creating the tart shells required a bit of patience, but once I got the hang of it, I realized that a simple press-and-bake method worked wonders. Using fresh strawberries from the local market added a burst of flavor that store-bought fruit just can't replicate.
One of the tricks I learned along the way is to let the whipped cream chill in the fridge before frosting the tarts. This simple step makes a world of difference, giving the cream a luxurious texture that holds its shape beautifully when piped. The end result? A dessert that looks as good as it tastes, and it’s sure to impress!
Why You Will Love This Recipe
- Fresh strawberries bring a burst of sweetness and color.
- The buttery tart shell provides the perfect crunchy contrast.
- The creamy whipped topping makes each bite melt in your mouth.
Perfecting the Tart Shells
To achieve a perfectly crisp tart shell, it's essential to properly cream the butter with the dry ingredients before adding the egg yolk. The butter should be softened but not melted; if it’s too warm, the dough can become greasy. Make sure to press the dough evenly into the tart pans. This helps create a uniform shape and ensures even baking. After baking, let the shells cool completely before filling them to prevent the whipped cream from melting.
If you're aiming for a flaky texture, avoid over-mixing the dough once you add the egg yolk. Mix just until it comes together. Also, consider using a food processor for this step to make the process quicker. Just pulse the flour, powdered sugar, and salt before adding the butter, then pulse until mixed, and finally add the egg yolk. Monitor closely while baking; the edges should be a light golden brown when done.
Whipping the Cream to Perfection
The key to a stable whipped cream is to use cold tools and ingredients. Before you begin, chill your mixing bowl and beaters in the freezer for about 10-15 minutes. This will help the cream whip faster and hold its shape. Opt for heavy cream with at least 36% fat content; this will ensure a rich and fluffy texture. When whipping, start at a low speed to prevent splatters, then gradually increase to medium-high until you achieve stiff peaks—this usually takes about 3 to 5 minutes.
Using granulated sugar gives a slight crunch, but for an ultra-smooth cream, consider substituting with sifted powdered sugar instead. If you want a hint of flavor beyond vanilla, try incorporating a tablespoon of lemon zest or a few drops of almond extract. Remember to keep the whipped cream refrigerated until you’re ready to use it, as it can start to deflate if left out for too long.
Serving and Storing Tips
When assembling the tarts, it's best to fill the shells right before serving if possible. This keeps the tart crust crisp and prevents it from becoming soggy. If making in advance, store the tart shells in an airtight container at room temperature for a day or up to three days in the refrigerator. Prepare the whipped cream on the day of serving for the best texture; however, it can be made a few hours ahead and kept chilled until you're ready to assemble.
For delightful variations, try incorporating other berries such as blueberries or raspberries along with the strawberries for added flavor and visual appeal. You could also add a layer of lemon curd between the tart shell and whipped cream for a zesty twist. Scaling the recipe up is easy—simply multiply the ingredients while keeping the same baking time for the shells, especially when making mini tarts.
Ingredients
For the Tart Shells
- 1 cup all-purpose flour
- 1/4 cup powdered sugar
- 1/2 cup unsalted butter, softened
- 1/4 teaspoon salt
- 1 egg yolk
For the Whipped Cream Filling
- 1 cup heavy cream
- 1/4 cup granulated sugar
- 1 teaspoon vanilla extract
For the Topping
- 2 cups fresh strawberries, hulled and sliced
- Additional whipped cream for garnish
Instructions
Make the Tart Shells
In a mixing bowl, combine the flour, powdered sugar, and salt. Add the softened butter and mix until crumbly. Incorporate the egg yolk and mix until a dough forms. Press the dough into individual tart pans and poke with a fork. Bake at 350°F (175°C) for 15 minutes until golden. Let them cool completely.
Prepare the Whipped Cream
In a bowl, whip the heavy cream with the granulated sugar and vanilla until stiff peaks form. Chill in the fridge until ready to use.
Assemble the Tarts
Once the tart shells are cooled, fill each shell with whipped cream, smoothing it out. Top generously with sliced strawberries.
Serve
Garnish with a dollop of additional whipped cream and serve immediately. Enjoy!
Pro Tips
- For the best flavor, use fresh, ripe strawberries and serve the tarts the same day you assemble them for optimal freshness. You can also experiment with other fruits like blueberries or raspberries.
Ingredient Selection
Choosing ripe, sweet strawberries is crucial, as they're the star ingredient of this dessert. Look for berries that are firm, brightly colored, and fragrant. If strawberries aren't in season, consider using frozen ones; just thaw and drain them beforehand to avoid excess moisture. You can also enhance their flavor with a sprinkle of sugar and a dash of balsamic vinegar before using them as topping.
For the tart shell, feel free to substitute whole wheat flour for half of the all-purpose flour for added nutrition and a nuttier flavor. If you want a dairy-free option, use coconut oil instead of butter. Just remember to adjust the chill time to ensure it solidifies properly before pressing into tart pans.
Troubleshooting Common Issues
If your tart shells are too crumbly and difficult to handle, you may have added too much flour or not enough butter. It can help to refrigerate the dough for about 30 minutes, allowing the butter to firm up before pressing into pans. Conversely, if they puff up during baking, you can use parchment paper and pie weights to prevent this next time; simply line the dough with parchment and fill it with weights before baking.
When it comes to whipped cream, if you accidentally over-whip it and it starts to look grainy, don’t despair. Gently fold in a splash of heavy cream to bring it back together. If your whipped cream deflates, consider stabilizing it next time with a bit of gelatin (1 teaspoon of unflavored gelatin dissolved in a tablespoon of water) added before whipping.
Questions About Recipes
→ Can I make the tart shells in advance?
Yes, you can bake the tart shells a day ahead. Just store them in an airtight container until you’re ready to assemble.
→ How do I store the leftover tarts?
Store any leftover tarts in the fridge for up to 1 day. The shells may soften over time, so it's best to eat them fresh.
→ Can I use non-dairy cream for the filling?
Absolutely! You can use a non-dairy whipped cream substitute to make this recipe vegan-friendly.
→ What can I substitute for strawberries?
You can use any fresh fruit such as raspberries, sliced kiwis, or peaches. Just ensure the fruit is ripe for the best flavor.
Strawberry Whipped Cream Tarts
Created by: The Yasminscookbook Team
Recipe Type: Baking Basics | Simple Cakes
Skill Level: Intermediate
Final Quantity: 6 tarts
What You'll Need
For the Tart Shells
- 1 cup all-purpose flour
- 1/4 cup powdered sugar
- 1/2 cup unsalted butter, softened
- 1/4 teaspoon salt
- 1 egg yolk
For the Whipped Cream Filling
- 1 cup heavy cream
- 1/4 cup granulated sugar
- 1 teaspoon vanilla extract
For the Topping
- 2 cups fresh strawberries, hulled and sliced
- Additional whipped cream for garnish
How-To Steps
In a mixing bowl, combine the flour, powdered sugar, and salt. Add the softened butter and mix until crumbly. Incorporate the egg yolk and mix until a dough forms. Press the dough into individual tart pans and poke with a fork. Bake at 350°F (175°C) for 15 minutes until golden. Let them cool completely.
In a bowl, whip the heavy cream with the granulated sugar and vanilla until stiff peaks form. Chill in the fridge until ready to use.
Once the tart shells are cooled, fill each shell with whipped cream, smoothing it out. Top generously with sliced strawberries.
Garnish with a dollop of additional whipped cream and serve immediately. Enjoy!
Extra Tips
- For the best flavor, use fresh, ripe strawberries and serve the tarts the same day you assemble them for optimal freshness. You can also experiment with other fruits like blueberries or raspberries.
Nutritional Breakdown (Per Serving)
- Calories: 240 kcal
- Total Fat: 15g
- Saturated Fat: 10g
- Cholesterol: 45mg
- Sodium: 90mg
- Total Carbohydrates: 23g
- Dietary Fiber: 1g
- Sugars: 14g
- Protein: 3g